How to Make Perfect Cake Popsicles: Easy, Fun & Delicious!
Ever wanted a dessert that’s fun yet fancy? Cake popsicles are your go-to. They turn simple cake into a cool, handheld treat that everyone loves.
Picture this: you walk into a party and see cake pops shaped like popsicles. They mix cake’s softness with the fun of a frozen snack. They’re perfect for any summer party or to wow your friends with a unique dessert.
This guide will teach you all about making amazing cake popsicles. You’ll learn about picking the best ingredients and decorating them. Soon, you’ll be a pro at making these tasty treats.
Table of Contents
Understanding Cake Popsicles: A Sweet Introduction
Cake popsicles have become a hit in the dessert world. They offer a fun twist on traditional cake. These treats are perfect for parties and special events. They let you enjoy your favorite cake flavors in a convenient, no-bake form.
What Makes Cake Popsicles Special
Easy cake popsicles are special for many reasons. They mix the taste of cake with a fun design. This makes them great for any event. Unlike regular cake, these treats are:
- Convenient single-serving size
- Endless decoration possibilities
- Perfect for both kids and adults
- Easy to transport and share
Basic Components of Cake Popsicles
To make the perfect cake popsicle, you need a few things. The basic parts are:
- Crumbled cake base
- Frosting or binding agent
- Candy melts or chocolate coating
- Decorative toppings
History and Popularity
The idea of cake popsicles came from using leftover cake. Bakers mixed cake crumbs with frosting and coated them in chocolate. This idea turned into a worldwide dessert hit.
Cake popsicles prove that sometimes the most delicious ideas come from unexpected creativity!
These treats are loved at birthday parties and weddings. Their popularity keeps growing. Home bakers and chefs are always finding new flavors and designs.
Essential Tools and Ingredients for Success
Making tasty homemade cake pops is easy with the right tools and ingredients. This fun recipe is great for kids, needing just a few tools and some creativity.
- Silicone cake pop molds for perfect shaping
- Popsicle sticks for easy handling
- Microwave or double boiler for melting chocolate
- Mixing bowls and spatulas
- Cooling rack
Here’s what you’ll need for the cake pops:
- Cake mix (or ingredients for homemade cake)
- Buttercream frosting
- Candy melts or chocolate for coating
- Sprinkles or decorative toppings
You can pick between store-bought cake mix or make your own cake. Both are great for this fun dessert.
Pro tip: Use top-notch chocolate or candy melts for coating. The right coating makes a big difference in taste and look.
Remember, the best homemade cake pops come from precise ingredients and careful preparation!
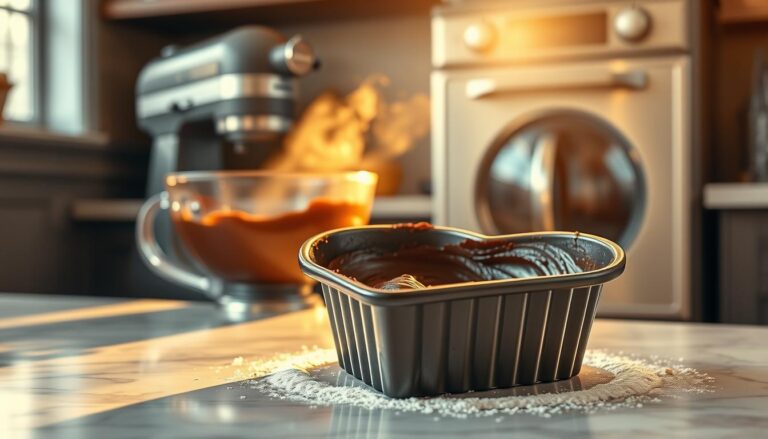
Cake Popsicles Recipe: Step-by-Step Guide
Making fun summer treats like cake popsicles is easy! They’re great for parties or just to satisfy your sweet tooth. Let’s explore how to make these tasty mini desserts.
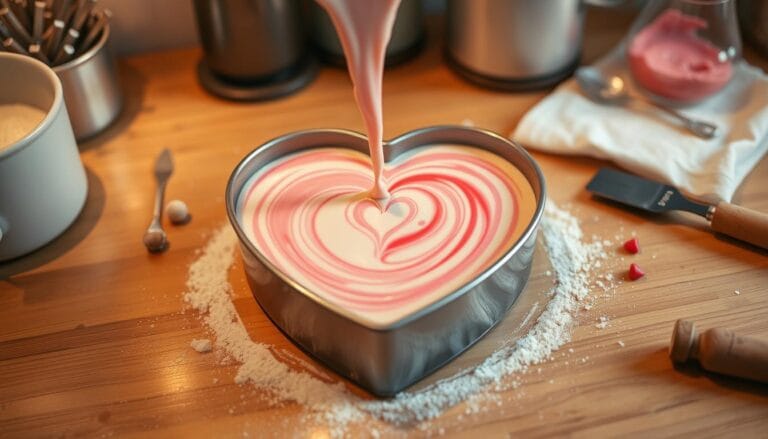
Making the Perfect Cake Base
Begin with a simple cake recipe for your treats. Pick a flavor you love, like vanilla, chocolate, or funfetti. Here’s a quick guide:
- Select high-quality ingredients
- Bake cake in a standard 9×13 inch pan
- Allow cake to cool completely
- Crumble cake into fine, even pieces
Preparing the Frosting Mixture
The key to great cake popsicles is the right frosting-to-cake mix. You need a perfect balance:
| Ingredient | Quantity | Purpose |
|---|---|---|
| Cake Crumbs | 2 cups | Base structure |
| Buttercream Frosting | 1/3 cup | Binding agent |
| Vanilla Extract | 1 tsp | Flavor enhancement |
Shaping and Molding Techniques
Turn your cake mix into yummy treats with these tips:
- Mix cake crumbs with frosting until moldable
- Use a small cookie scoop for uniform size
- Roll mixture into tight, compact balls
- Chill for 15-20 minutes to set shape
Pro tip: Cold mixture is easier to shape and helps maintain the perfect popsicle form!
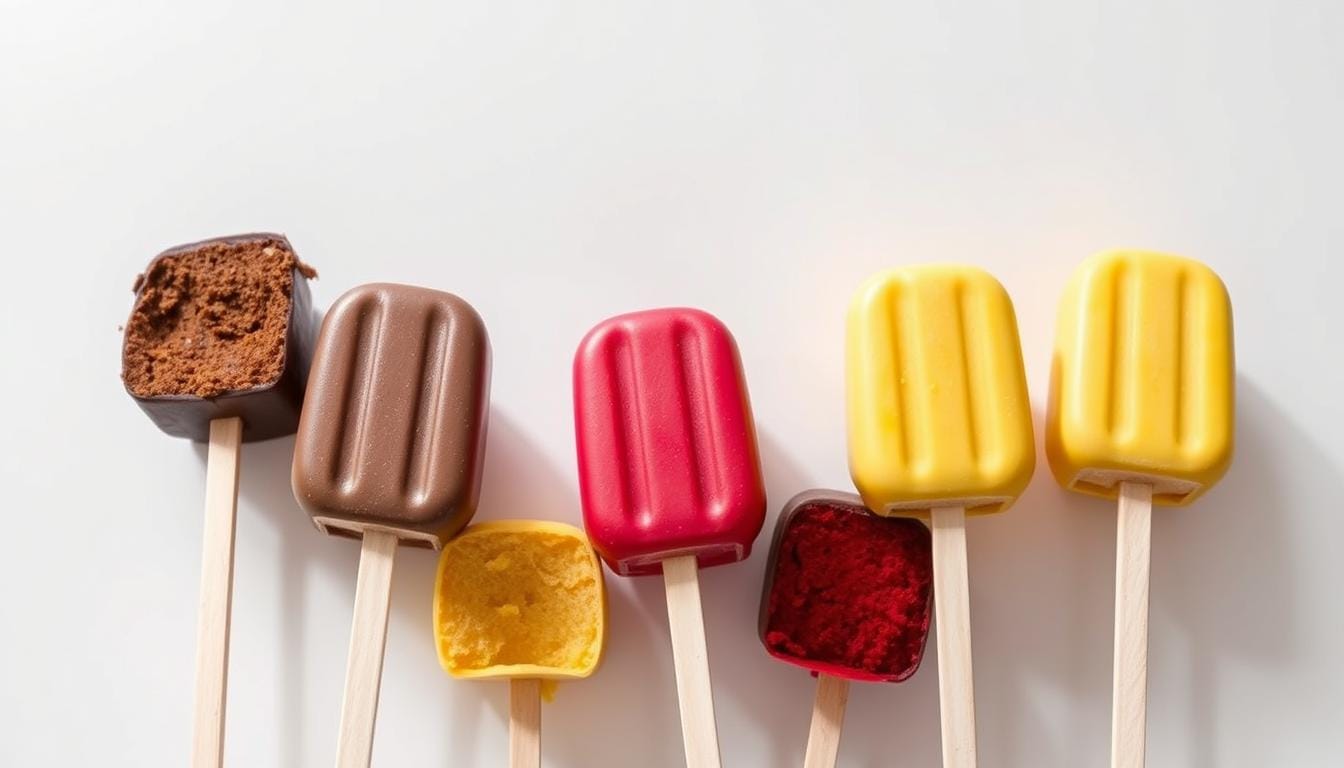
Coating and Decoration Techniques
Turning your homemade cake pops into stunning treats needs you to master coating and decoration. The right touch can make simple desserts into eye-catching masterpieces. These treats will delight both kids and adults.
Chocolate coating is key for beautiful cake popsicles. To get a smooth finish, melt your chocolate carefully. Use a double boiler or microwave, stirring often to avoid burning. The chocolate should be thin enough to dip but thick enough for a smooth shell.
- Use high-quality chocolate for best results
- Ensure chocolate is completely melted and smooth
- Maintain proper temperature between 86-90°F
Decoration options for your homemade cake pops are endless. From classic sprinkles to intricate designs, you can customize your treats for any occasion.
| Decoration Type | Difficulty Level | Best For |
|---|---|---|
| Sprinkles | Easy | Birthdays, Casual Events |
| Edible Glitter | Medium | Elegant Parties |
| Themed Designs | Advanced | Special Celebrations |
Pro tip: Let your creativity shine by experimenting with different colors, patterns, and decorative elements. Use piping bags, food-safe brushes, and various toppings to make each cake popsicle unique.
- Drizzle contrasting chocolate colors
- Create seasonal themes
- Use edible markers for detailed designs
Remember, practice makes perfect. Your first few attempts might not look perfect, but with time, you’ll get better. You’ll create stunning cake popsicles that are as beautiful as they are delicious.
Troubleshooting Common Issues
Making easy cake popsicles can be tricky, but don’t worry! Every baker faces challenges. This guide will help you solve common problems and make sure your treats are perfect every time.
Creating the perfect cake popsicles takes patience and practice. Knowing the potential pitfalls will help you make stunning desserts that wow everyone.
Preventing Cracks and Breaks
Cracks can mess up the look of your cake popsicles. To avoid this problem:
- Make sure the cake mixture is completely cooled before shaping
- Use just enough frosting to hold the cake crumbs together
- Chill the cake balls well before dipping
- Work with small batches to keep the temperature right
Temperature Control Tips
Temperature is key to making perfect cake on a stick. Follow these tips:
- Keep candy melts between 90-95°F for a smooth coat
- Use a digital thermometer for accurate temperature
- Work in a cool kitchen
- Reheat the coating gently if it gets too thick
Texture Problems and Solutions
Getting the right texture can be tricky for easy cake popsicles. Watch out for these common issues:
- Dry cake: Add more frosting or simple syrup
- Crumbly mixture: Adjust the moisture
- Soft cake balls: Chill them longer before dipping
- Uneven coating: Tap the stick gently to remove excess
With these tips, you’ll be making professional-looking cake popsicles. They’ll be delicious and look great. Remember, practice makes perfect!
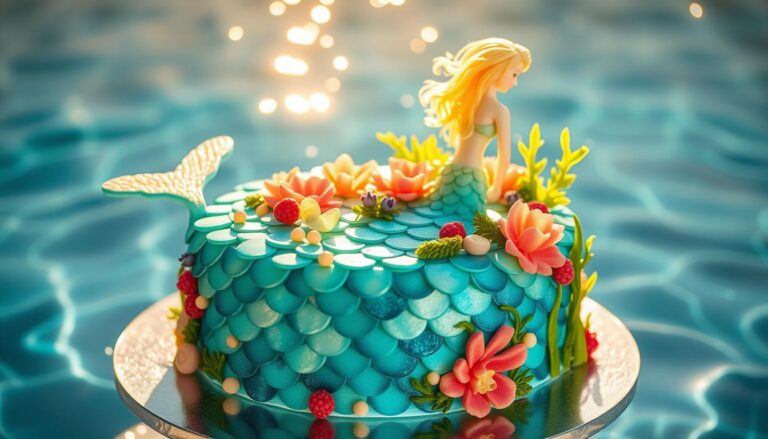
Creative Design Ideas and Themes

Turn your cake popsicles into stunning treats that everyone will love. They’re perfect for showing off your creativity, making them great for any event. They’re especially loved by kids and are easy to make.
Seasonal and Holiday Themes
Make each season special with themed cake popsicles. You can go from bright summer beach designs to cozy winter wonderland treats. This way, you can match your desserts to any holiday or event.
- Summer Pool Party: Decorate with blue and white swirls, add tiny umbrella toppers
- Halloween: Create spooky monster faces or pumpkin-themed designs
- Winter Holidays: Craft snowflake patterns or santa-inspired decorations
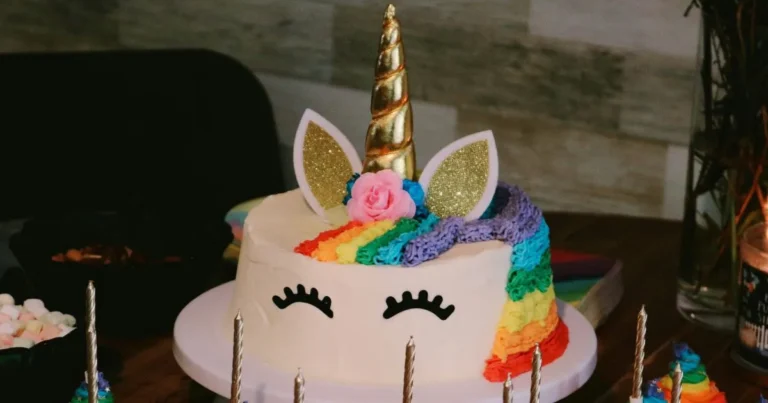
Character and Fantasy Designs
Make your celebrations unforgettable with character-themed cake popsicles. Kids adore seeing their favorite characters in dessert form. It makes eating dessert a fun adventure.
| Theme | Design Elements | Color Palette |
|---|---|---|
| Unicorn | Pastel swirls, edible glitter, horn | Pink, purple, baby blue |
| Superhero | Mask designs, logo imprints | Bold primary colors |
| Under the Sea | Fish scales, ocean wave patterns | Blue, teal, green |
With these ideas, your cake popsicles will be the star of any party. Remember, how you present them can make them even more special.
Storage and Serving Recommendations
Keeping your frozen cake bites fresh is key. Whether for a party or later, right storage is vital. It keeps them tasting great.
Proper storage of cake popsicles extends their life and flavor. Here are the must-know tips to keep them tasty and fresh:
Refrigeration Techniques
- Store cake popsicles in an airtight container
- Place parchment paper between layers to prevent sticking
- Keep refrigerated for up to 5 days
Freezing Your Bite-Sized Cake Snacks
Freezing is a great way to store your cake bites for longer. Here’s a detailed guide on how to freeze:
| Storage Method | Duration | Recommended Technique |
|---|---|---|
| Individual Wrapping | Up to 2 months | Wrap each cake popsicle in plastic wrap |
| Container Storage | Up to 1 month | Use freezer-safe container with tight lid |
Serving Temperature Guidelines
The right serving temperature is crucial. Remove frozen cake bites from the refrigerator 15-20 minutes before serving. This makes them creamy and flavorful.
- Refrigerated treats: Serve at 40-45°F
- Frozen treats: Thaw for 15-20 minutes
- Room temperature: Consume within 2 hours
By sticking to these tips, your cake snacks will stay fresh and delicious. They’ll impress at any event.
Variations and Flavor Combinations

Exploring unique flavor combinations can turn your cake pops into amazing treats. No-bake cake pops are quick and easy to make. They’re perfect for bakers who want to try new tastes.
Your cake pops can be a blank canvas for creativity. Here are some tasty flavor combinations to try:
- Classic Chocolate Lovers: Chocolate cake with dark chocolate coating
- Fruity Delight: Lemon cake with raspberry frosting
- Seasonal Spice: Pumpkin cake with cream cheese glaze
- Tropical Twist: Coconut cake with mango-flavored coating
No-bake cake pops are great for making tasty treats. Use crushed cookies, cream cheese, and mix-ins. The trick is to mix textures and flavors that make your taste buds happy.
Try these unique pairings:
- Lavender cake with honey glaze
- Red velvet with cream cheese filling
- Salted caramel with chocolate base
Remember, color and decoration matter too. Make your cake pops look good as well as taste great.
Your imagination is the only limit when creating unique cake pops!
Conclusion
Making cake popsicles is a fun adventure for everyone. You now know how to turn simple ingredients into beautiful desserts. This dessert is easy to make and offers endless possibilities for creativity.
Starting your cake popsicle journey opens up a world of fun. You can make them for birthdays, family events, or just to surprise friends. The recipe is easy to follow, and each popsicle lets you show off your creativity with flavors and designs.
Don’t worry if your first cake popsicles aren’t perfect. Making them is a learning process. With each try, you’ll get better and make even more amazing desserts.
Enjoy baking and let your creativity flow with these treats. Your cake popsicles will impress everyone, making any moment special.